There sure are a lot of ways to put lighting in the world’s favorite interlocking bricks. Here we show you examples to get started.
Using 5mm LED’s
5mm LED’s fit snugly inside bricks. They can be positioned in a project in a few seconds without additional hardware.
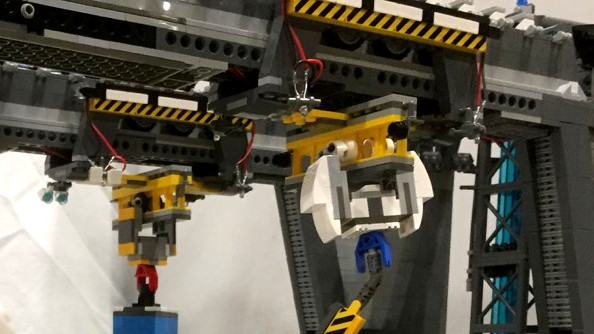
Effects may involve a single point LED. Or they may work together to create linear motion or rotating effects. Some effects fade from one to the next to make smooth apparent motion.
When removing LED’s that are tight, pry out with a screwdriver instead of pulling leads.


Using 3mm LED’s
3mm LED’s are the same brightness as 5mm, but smaller, which makes them appear higher intensity. They easily fit in the following parts:
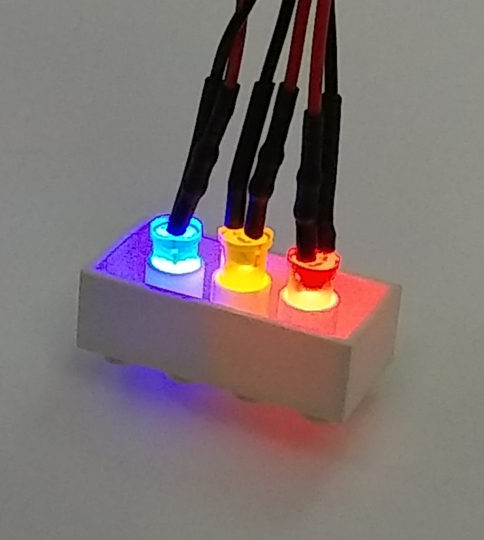
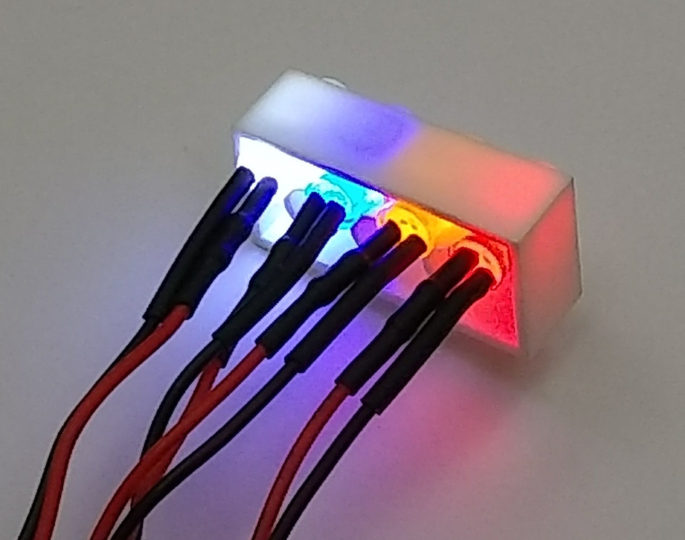
Using Bare LED’s
5mm and 3mm bare LED’s are bright because they contain no resistors. They can be safely connected to LED Ports (the green connectors of a Morsel or Ditto).
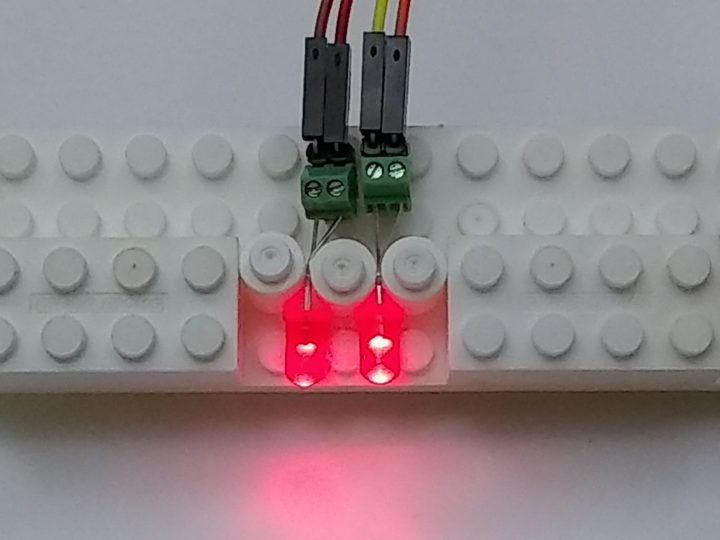
Couplers and Extension Wires are a way to connect bare LED’s at a distance from Morsel or Ditto boards.
Due to having no built-in resistors, bare LED’s could burn out if connected directly to G/5V pins.
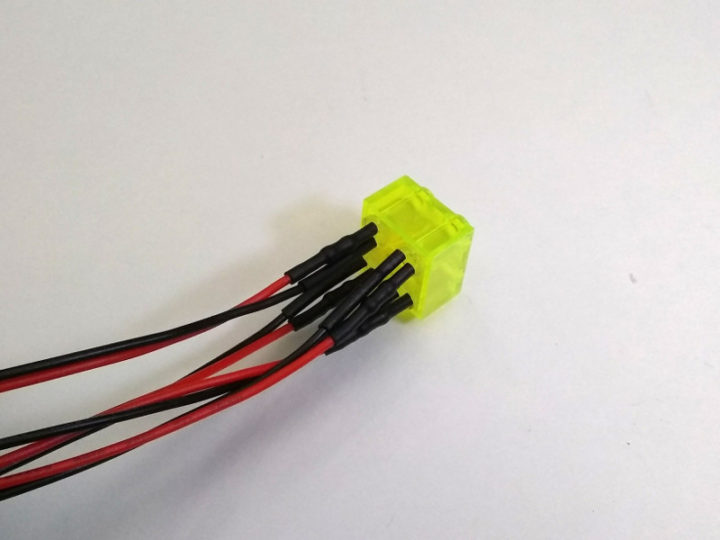
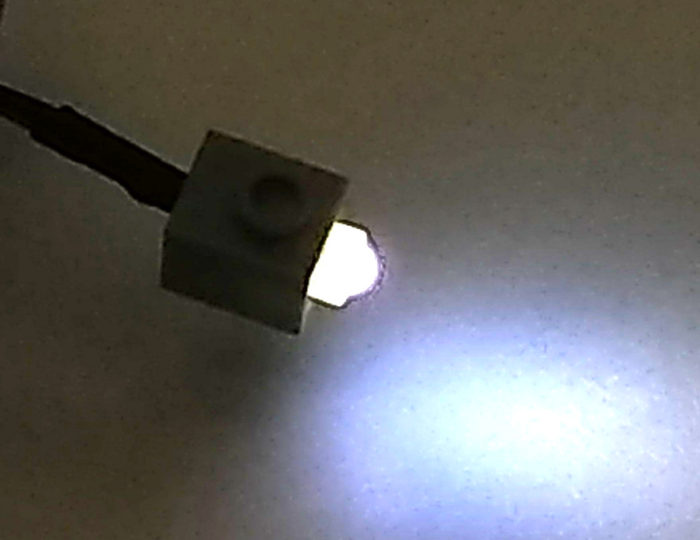
Using Micro LED’s
Micro LED’s thin wires pass through solid walls, both vertical gaps and horizontal layers.
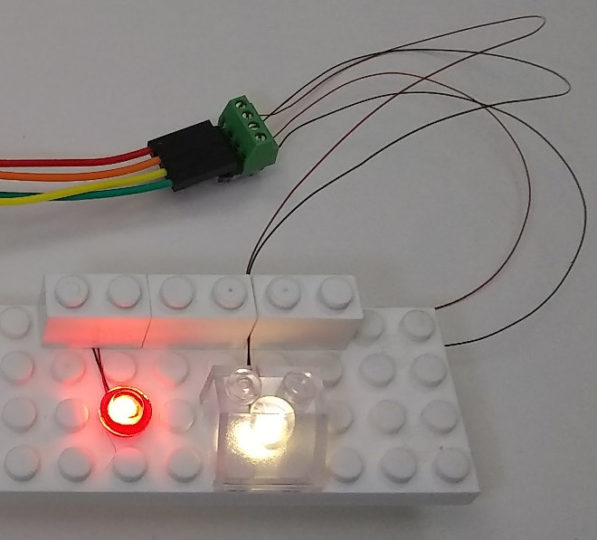
The picture shows a four pin Coupler providing more wire length. The clear red 1×1 round plate may be doubled-up for a deeper color. The 2×2 clear angled piece has the micro LED centered.
Due to having no built-in resistors, micro LED’s could burn out if connected directly to G/5V pins.
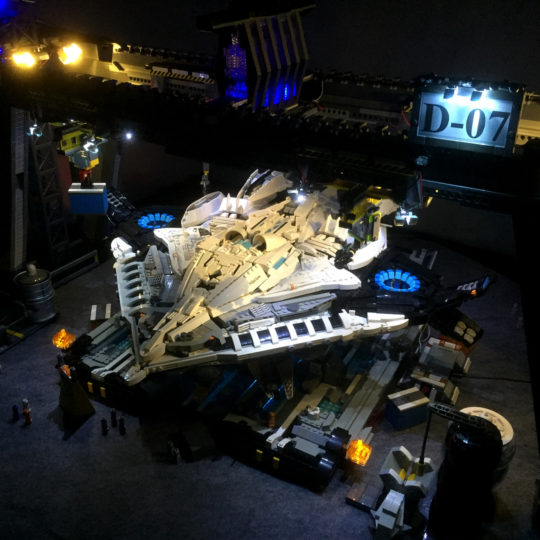
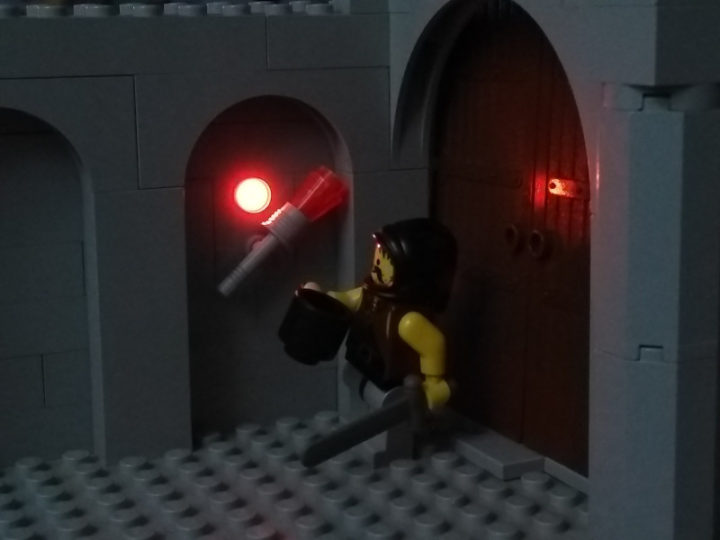
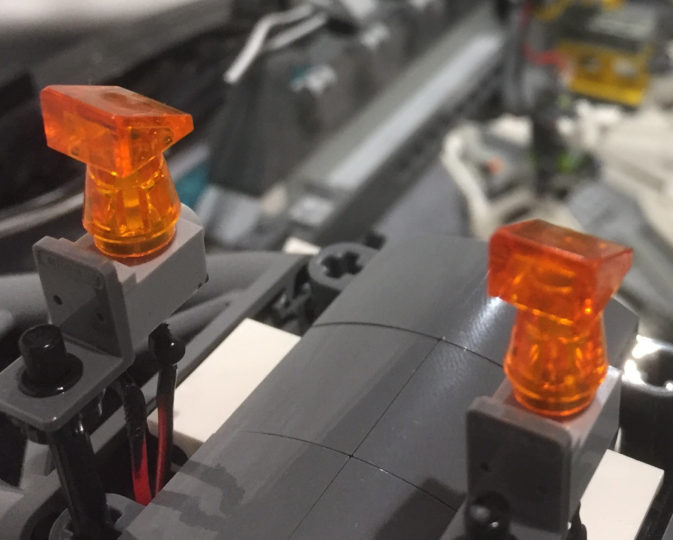
Lasers: Action at a Distance
The beam looks like a laser pointer pen’s, except we can modulate the brightness (ie. an angrily shimmering light saber using the mining laser effect).
One very cool property of lasers is that they cause the yellow clear pieces to fluoresce. While laser light looks bright, vivid red to our eyes, smartphones and cameras may see them as a somewhat fainter pink.
They have a diameter of 6mm and a back end of 6.25mm wide.

Other Lighting
Some companies make lighting powered by hearing aid batteries located in a brick or AAA batteries in a pack. If they don’t contain an electronic circuit with their own lighting effect, they can often be lit by our LED Ports and our lighting effects in place of the batteries.
A way to test whether it works is with a pair of alligator clip leads: Cut and strip one end to insert into LED port. With batteries removed, attach alligator clips to the terminals of the battery case (connect our + to their +). It’s okay if clips accidentally touch together while loose. Separate them and continue. Avoid shorting them to metal or circuits other than the intended lighting.

A permanent solution may require soldering or cutting wiring from the battery pack and connecting to the Morsel, so it is good to try it this way first.
In our limited tests, we found the brightness to be comparable to the original batteries.
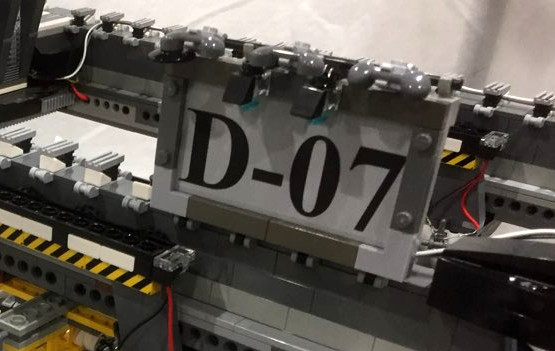
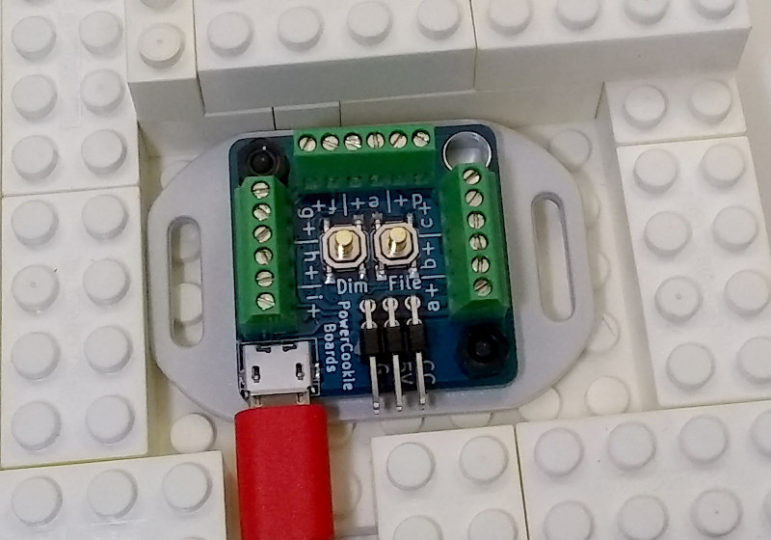
Embedding Boards in a Brick Housing
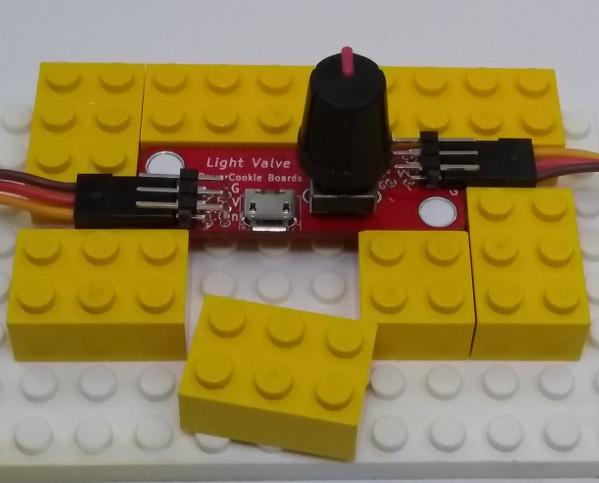
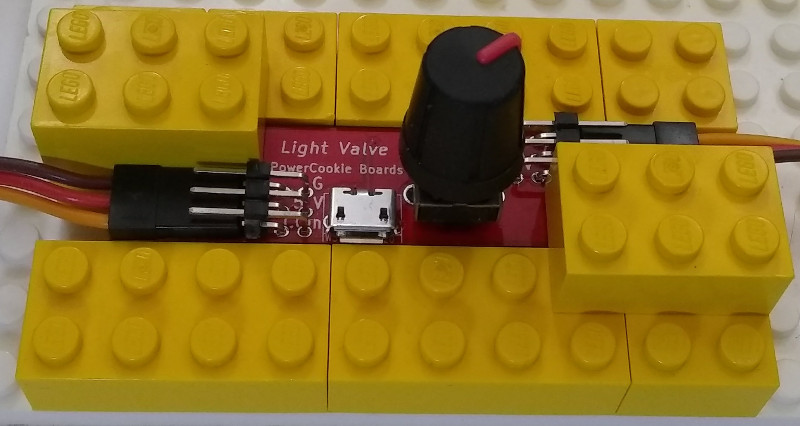
To enclose a board, it needs two bricks of height. The knob of the Light Valve rises above that. Example floorplans are shown below.
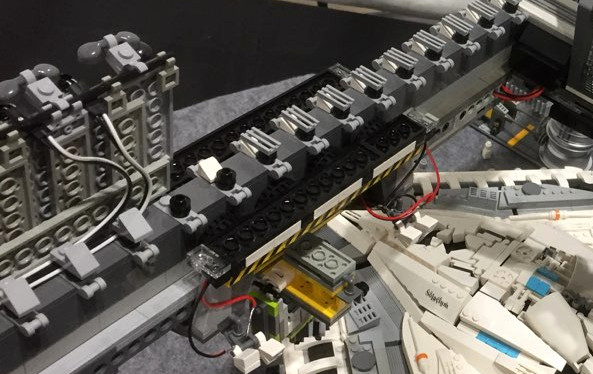
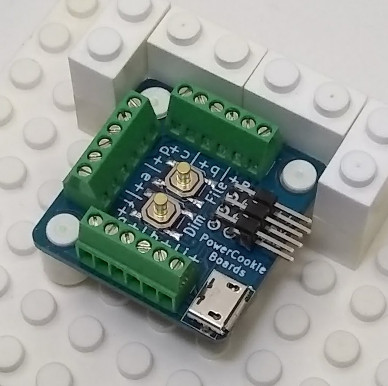
Boards have mounting holes suitable for studs. 2/3 height provides adequate underside clearance. Most commonly, two round plate bricks are stacked in opposite corners.
Boards may be held down at corners with bricks (see Light Valve variation).
As an alternative to mounting, a board may hang loose in its brick housing, constrained by cables to stay put. When mounted loosely, be careful to avoid damaging underside components when tightening the green connectors.

Summary
Before long, your brilliantly lit project shines. We have shown ways to light interlocking bricks, and we hope this inspires you in your own projects.
LEGO® is a trademark of the LEGO Group of companies which does not sponsor, authorize or endorse this site.
