A man is unsafely messing with the power cables for the billboard, resulting in the billboard occasionally blacking out and the cables begin sparking. After a brief moment in the dark, the assistant turns on a flashlight until power is restored. The blackouts occur at random intervals.
This demo was created for Brickworld 2018 to showcase a project that automatically runs sequences without interaction.
Lighting kit requirements
- 1x Morsel device
- 5x warm white LED micro lights
- The model (schematic and directions available on Bricklink)
- Preloaded theme #15, “Storm” on the Morsel
Designing the model
We used the free CAD-like designer program Stud.io from Bricklink to design our billboard model.
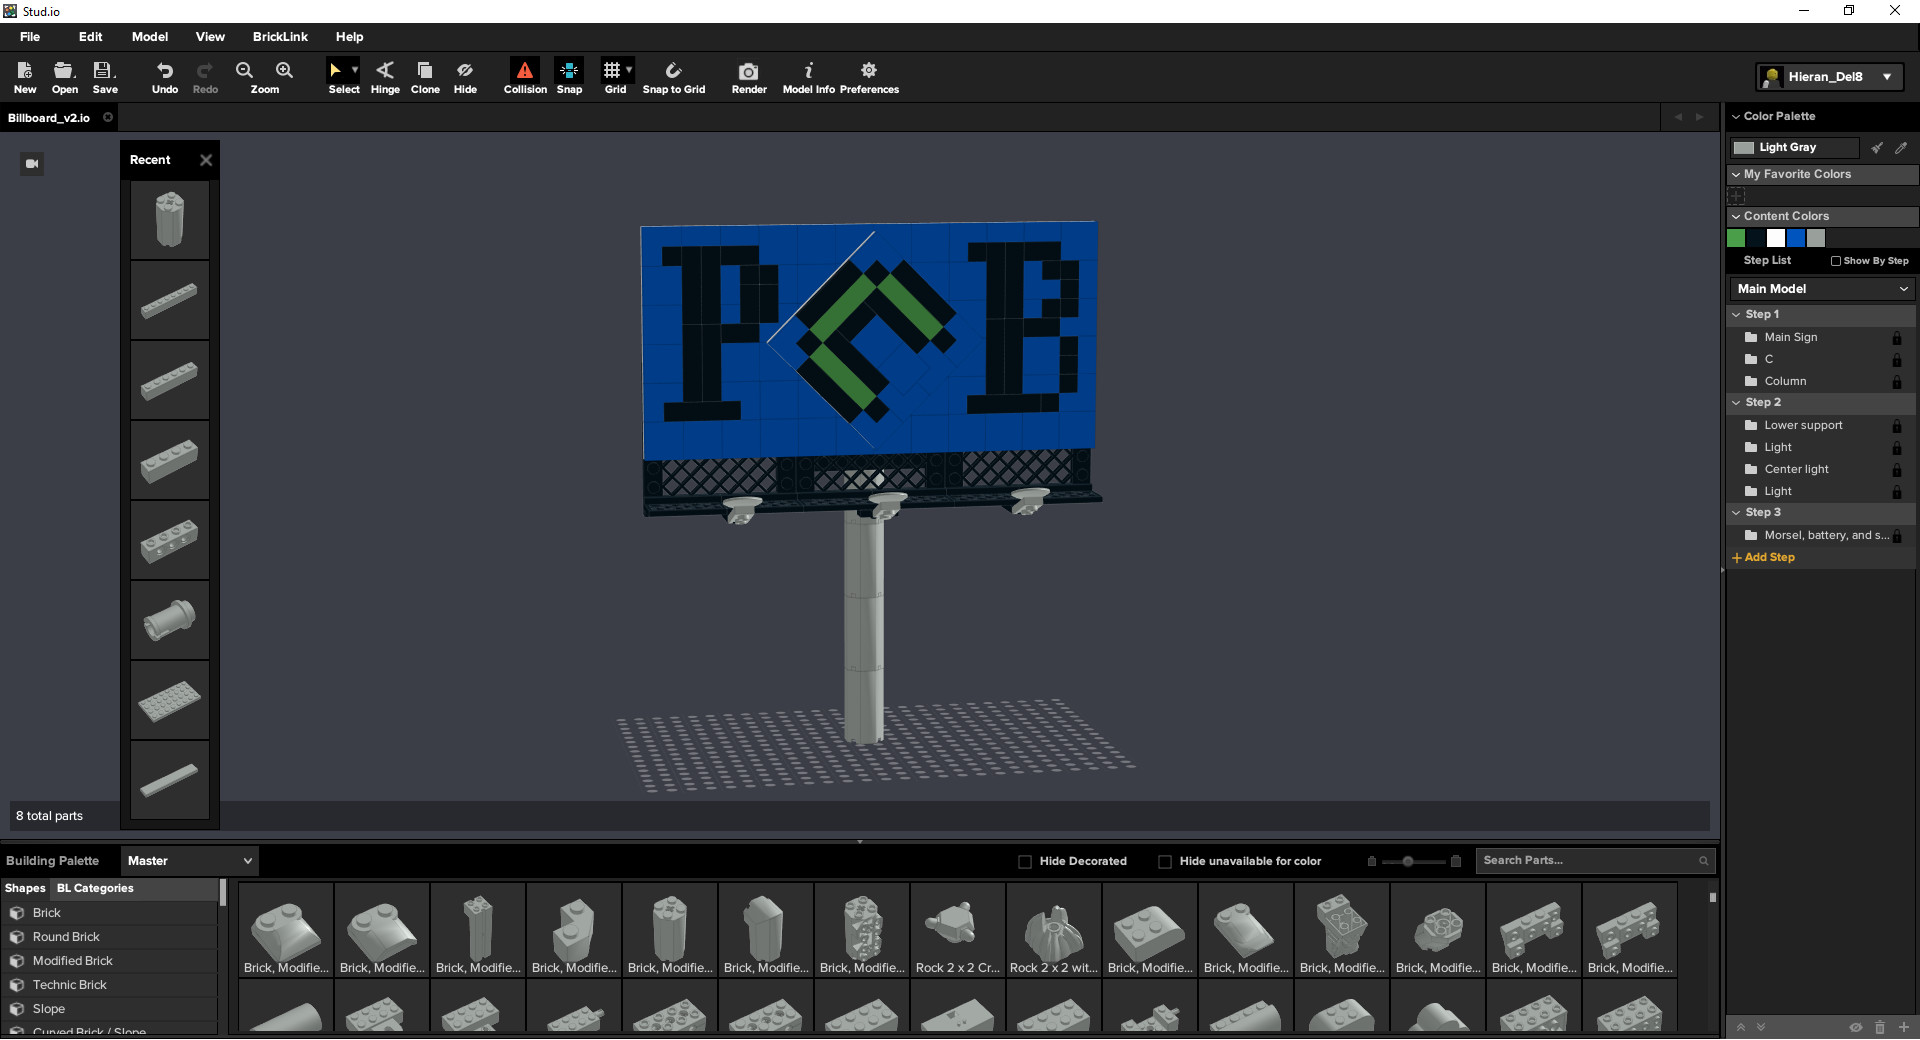
Conveniently, Stud.io allows us to order all the parts used in creating this model with the click of a button. See the “Lighting kit requirements” to buy or view the set and its directions for free online.
Wiring the lights
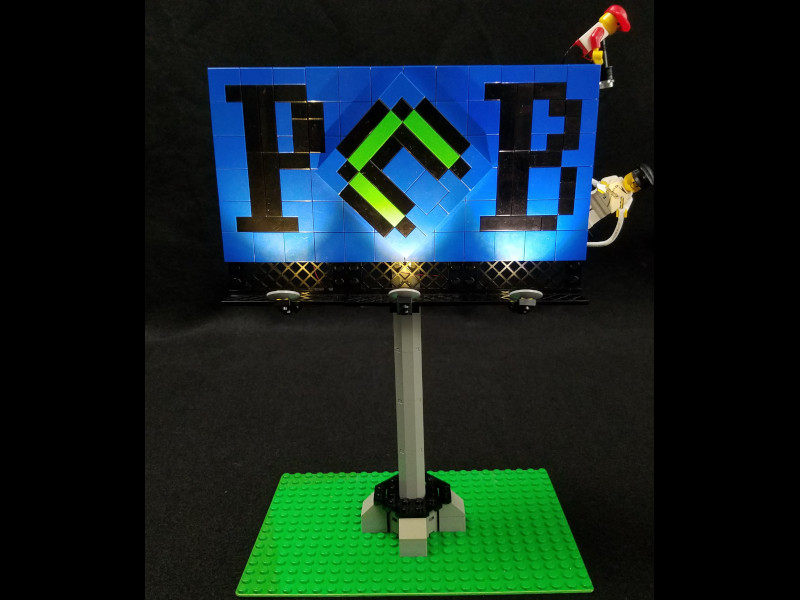
The next picture shows the front view of the billboard after it was built, lit by the environment and spotlights.
A micro light was put inside each of the spotlights. The wire was pinched softly in between the hinge piece and the billboard frame, as seen in the next picture.
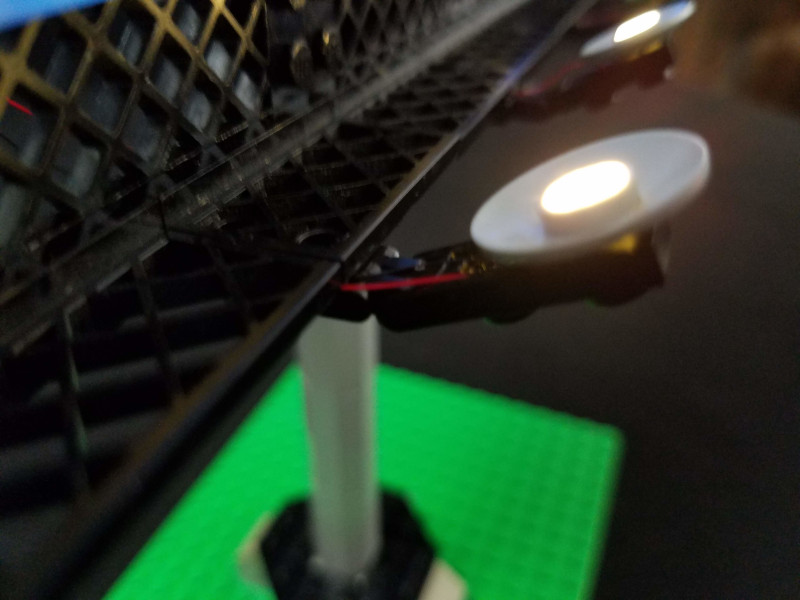
The spotlight wires were then routed in the back into holes in the bricks.
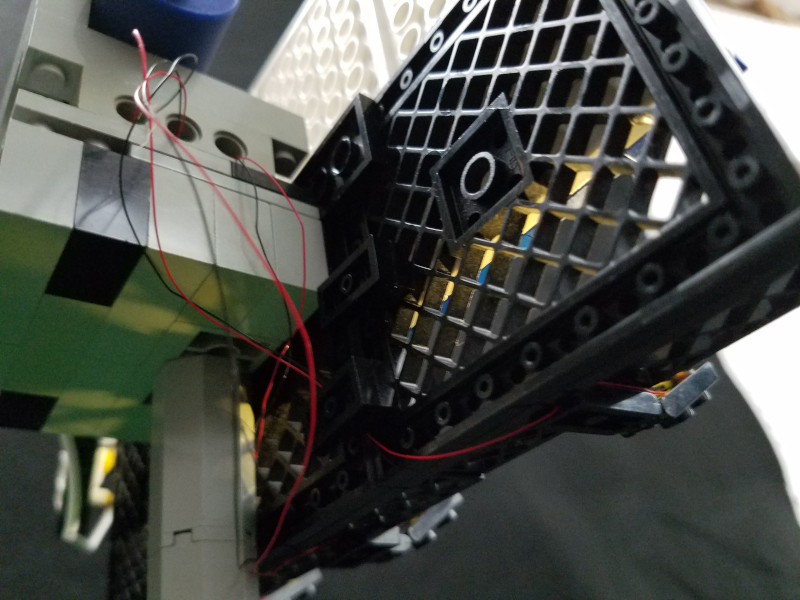
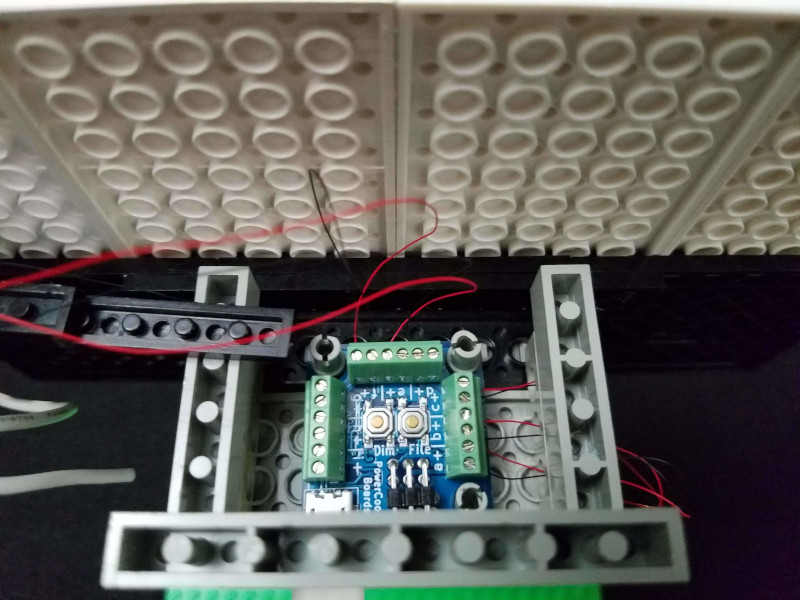
The wiring from all the LED’s (spotlights, flashlight, and sparking wire) were routed to the Morsel.
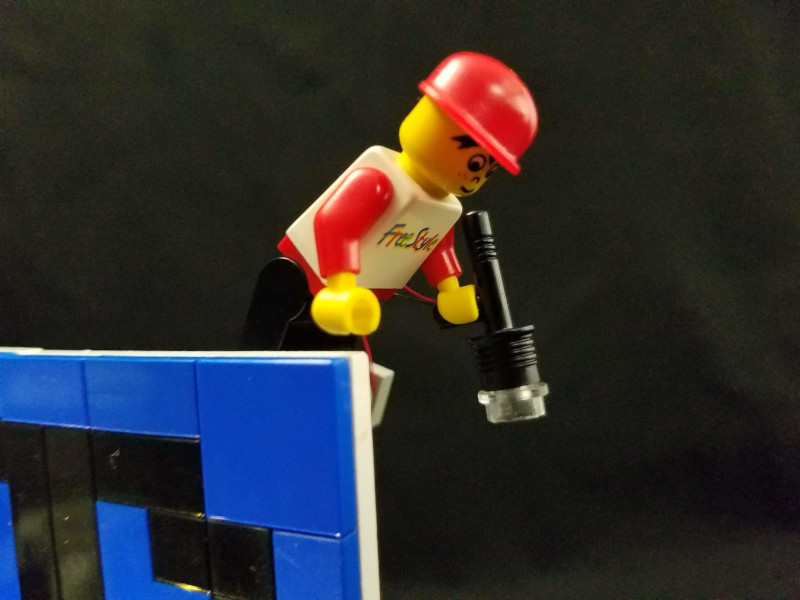
To hide the wiring from view, the wire had to be bent along the shape of the minifig and held in place.
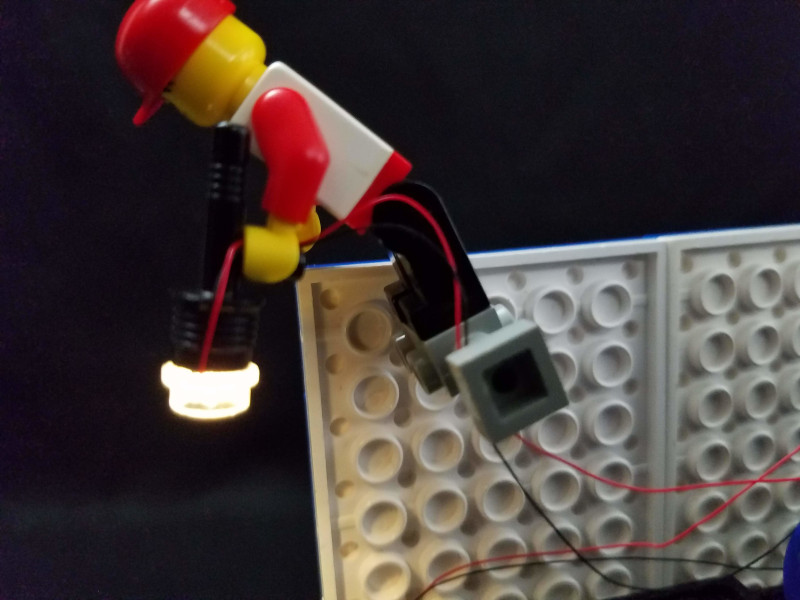
The result was a flashlight that didn’t appear to have wires (unless you look closely)!
Finally, instead of creating a theme and sequences specifically for this project, we used the preloaded “Storm” theme (#15) on the Morsel, making each “power circuit” (LED ports A, B, C) light up the spotlights, the assistant’s flashlight as “flashlight” (LED port E), and the sparking wire as “transformer” (LED port F). The effect was pretty neat!
What we learned
Tip #1: Don’t be afraid to redo sections that just aren’t working out. We had to redo the support structure of the model to better hold the billboard, Morsel, and USB battery pack, and we moved the minifigs around to every part of the model until we liked the look and the way the lighting projected.
Tip #2: Use a black marker to color the red wire except for the end. This helps it camouflage better with the surroundings. By not coloring the end of the red wire, it’s still easy to tell which wire is positive (red) and negative (black). We didn’t do that in these shots so you could see the wires better.
Tip #3: Printed paper looks great on the billboard, too!