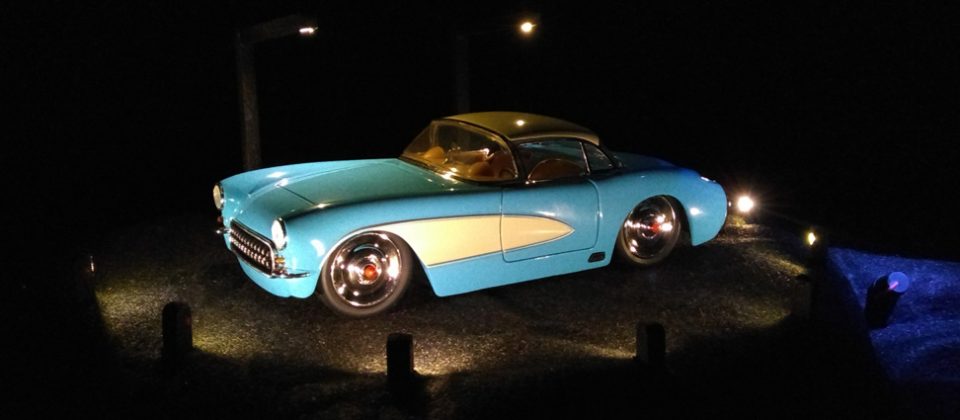
The Car Show displays your model with exquisitely smooth and dramatic effects. Check the video below.
A round pedestal is ringed with nine white LEDS. A knob selects one of three effects:
Fully counterclockwise: Highway Night Driving effect (passing streetlights animation)
Middle range: Steerable Spotlight
Fully clockwise: Red Carpet Event (flash photography effect)
We displayed a Car Show at Nimcon 7 as a way to show off your models.
Lighting kit
- 1x Morsel device
- 1x Light Valve (a toggle switch is a viable substitute)
- 1x ComLink, used to load the Car Show into the Morsel
- 9x Micro-Wired LEDs, Warm White
- 1x Chaining Cable
- 1x Chaining Extension Cable (optional, for more separation)
- 2x Couplers with Extension Wires
- Car Show theme and sequence (See Using the downloads below for instructions)
- A Windows PC is required to load the Car Show into the Morsel
- USB power source, for use when a PC is not present (Available from retail stores)
Additional hardware requirements
- 2x 12-inch by 1-inch Styrofoam disk / Hobby or craft stores
- 1/4-inch square dowel rod, 3 feet / Hobby or hardware stores
- 2/3 yard black cloth / Fabric stores
- 8x one-inch pins / Fabric stores
- 1x 1 by 1 by 3.5″ wood block, diagonally cut / Lumber supplies
- 2x 4-40 or 6-32 x 1.5-inch phillips round machine screws / Hardware stores
- 2x 4-40 or 6-32 nuts / Hardware stores
- 2x #4 or #6 washers / Hardware stores
- 2x 1/4″ x 1″ steel fender washers / Hardware Stores
- Fast-drying modeling glue, low temp hot glue and/or wood glue / Hobby and hardware stores
Tools used
- Drill press with 1/4-inch bit
- 0.2 inch grinding bit
- Hot styro cutter
- Razor for cutting grooves for wires
- Low temp glue gun
- Miter box and saw
- Screwdrivers, sandpaper, pins, etc.
Assembly highlights
The following describes a straightforward assembly approach.
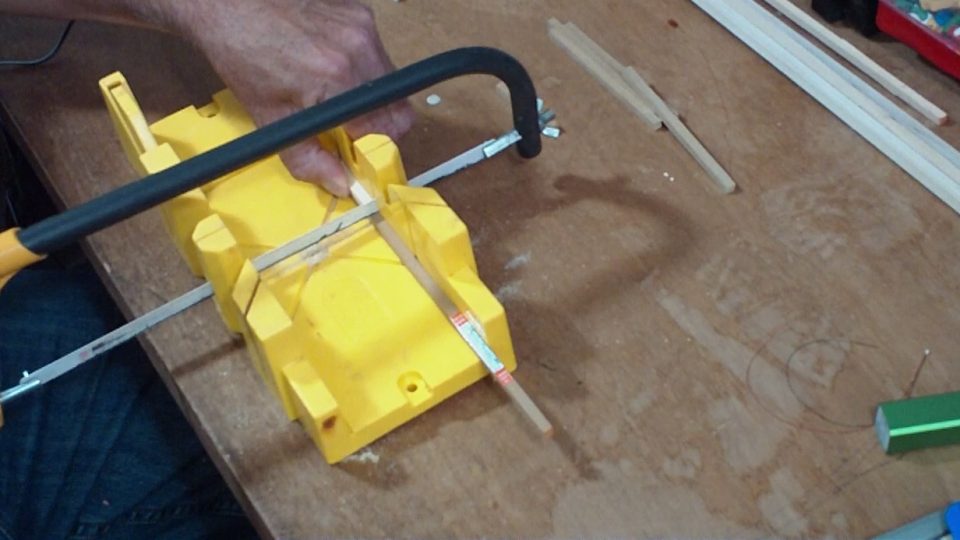
- Cut dowels into nine 2 1/4″ lengths and two 5″ lengths.
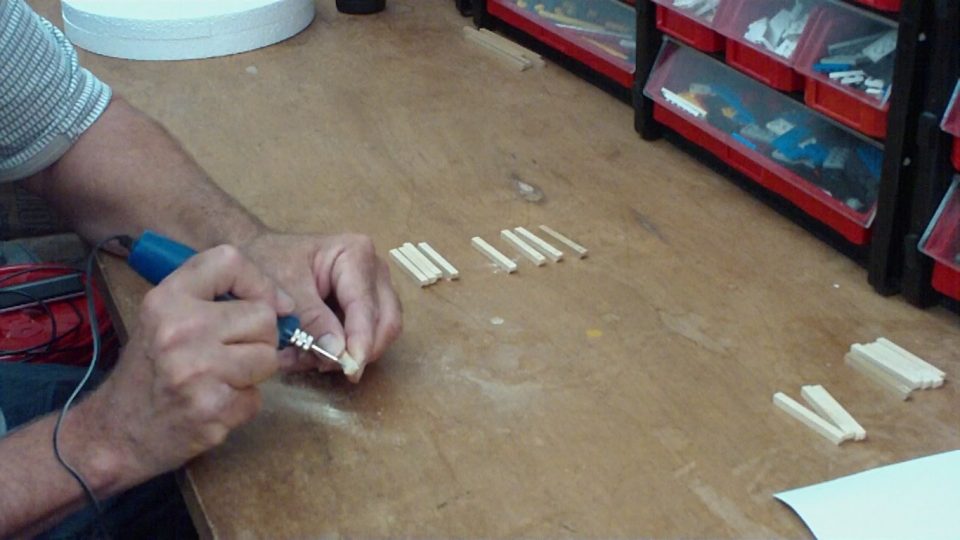
- Drill or grind a 0.2 inch recess to hold an LED.
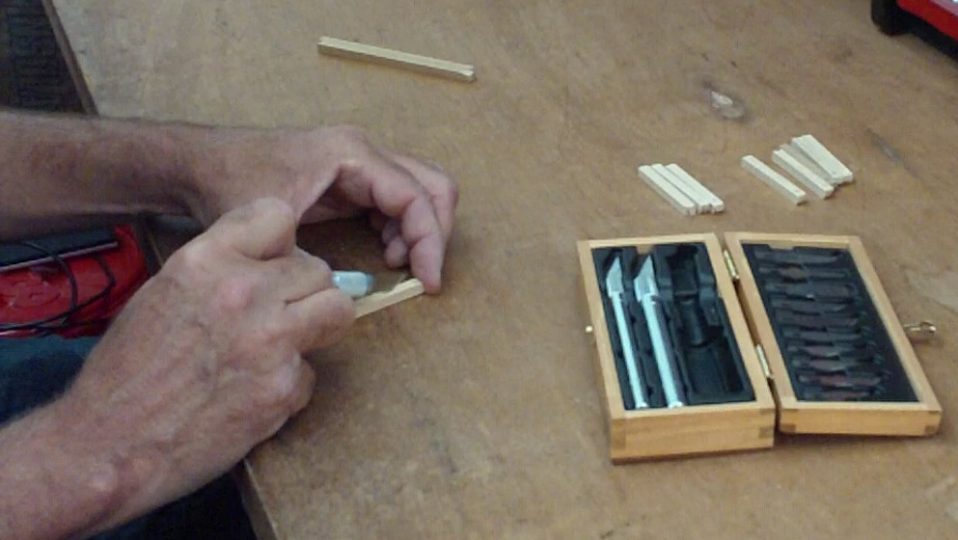
- Optional: Cut a groove for the LED wires along the face of 7 of the short dowel pieces. Sand and paint.
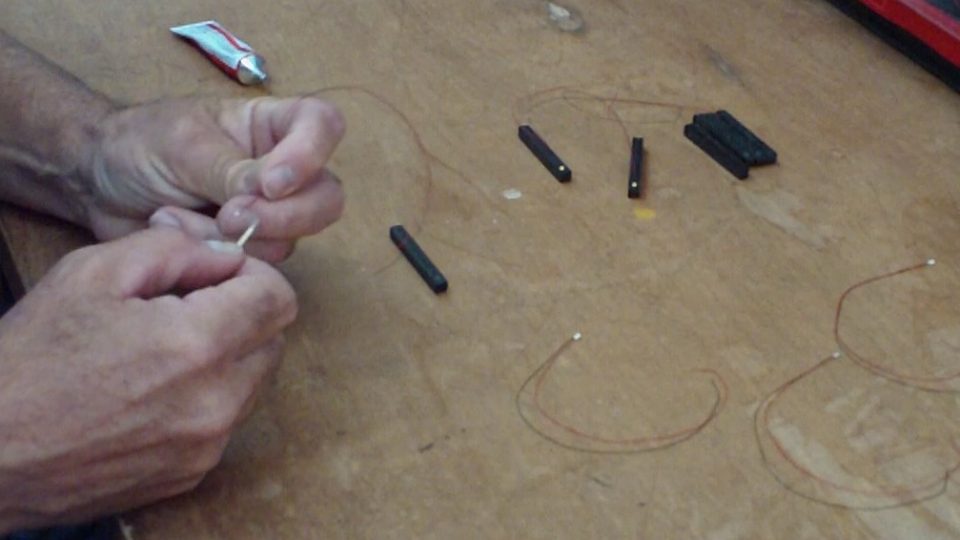
- Use a dab of modeling glue to affix an LED to the recessed hole. The yellow side of the LED faces out.
- Two lamp posts are constructed from one 5 inch and one 2 1/4 inch piece. Angle the joint at 100 degrees by sanding it down. A small finishing nail through the joint adds strength much like rebar. Pre-drill holes for the nail and fill with glue. Allow to dry. Drill another hole for LED wires to pass through the 2 1/4 inch piece and travel along the back of the lamp post to the base.
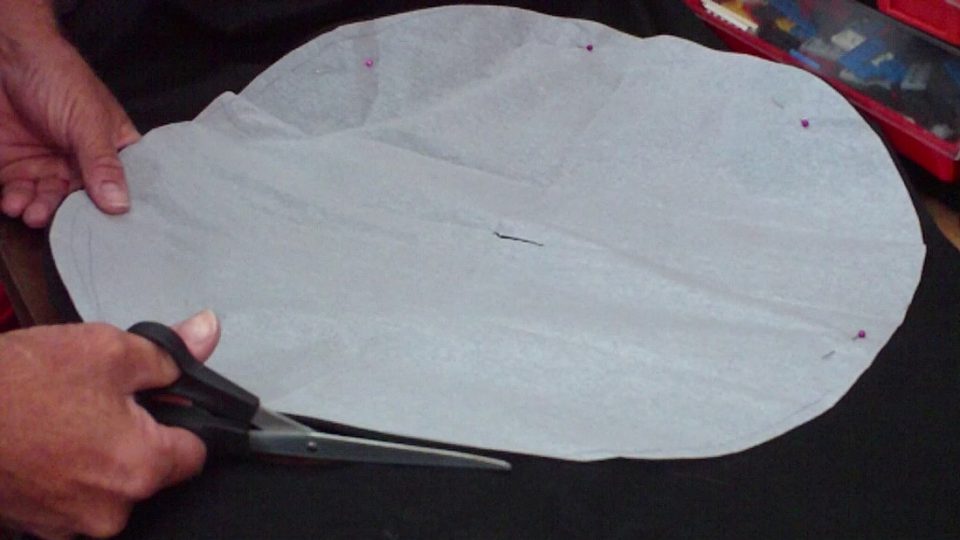
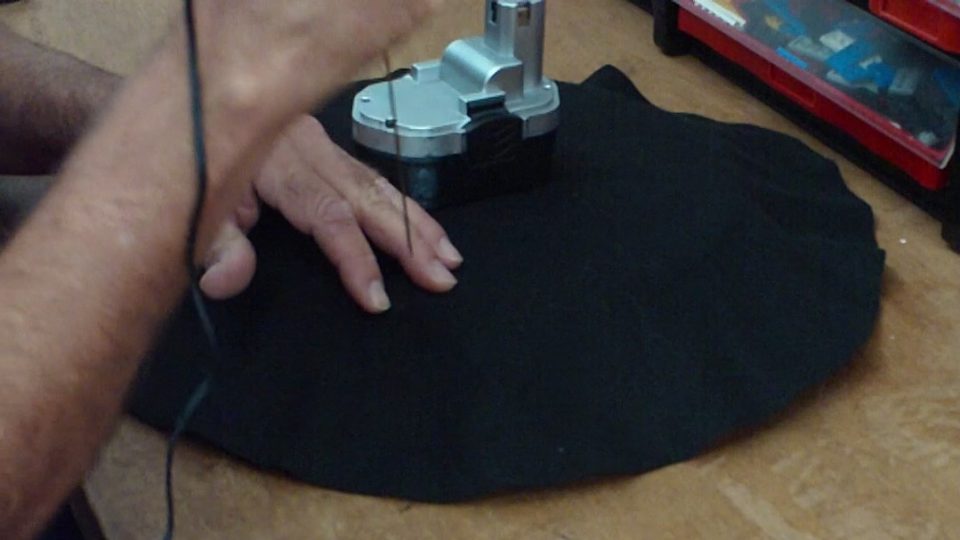
- Cut a 20-inch circle from black fabric to cover the platform.
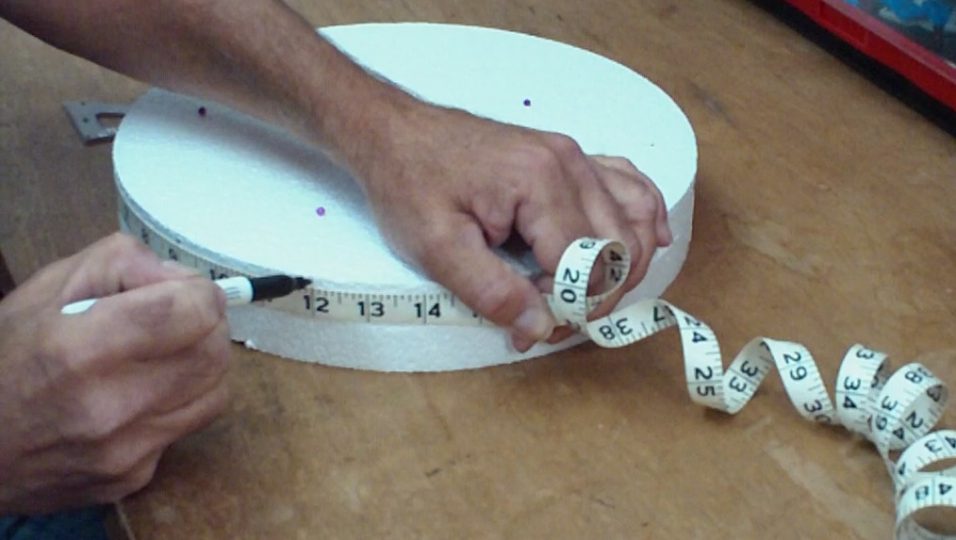
- Pin both Styrofoam disks together and mark 3-inch spacing for the seven floodlights.
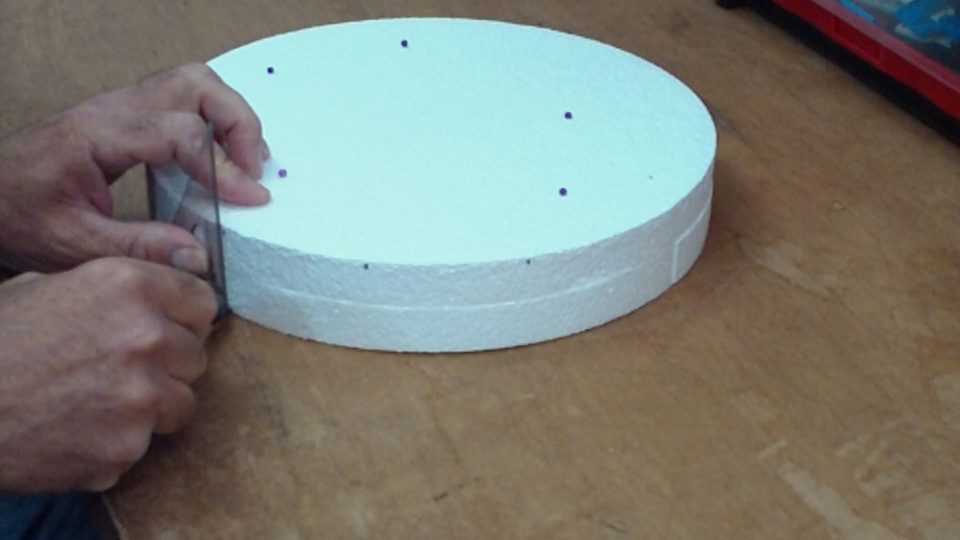
- Draw a line to mark the left edge of each cut.
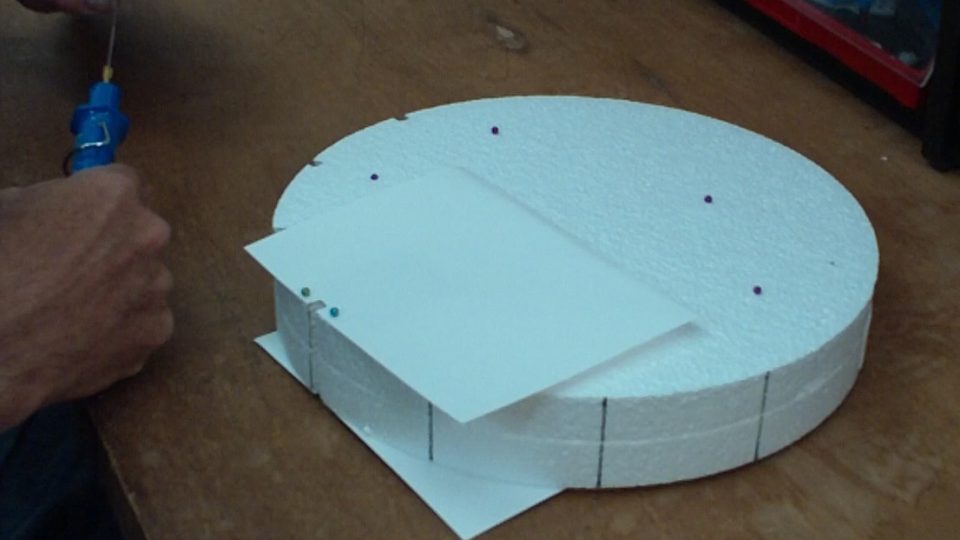
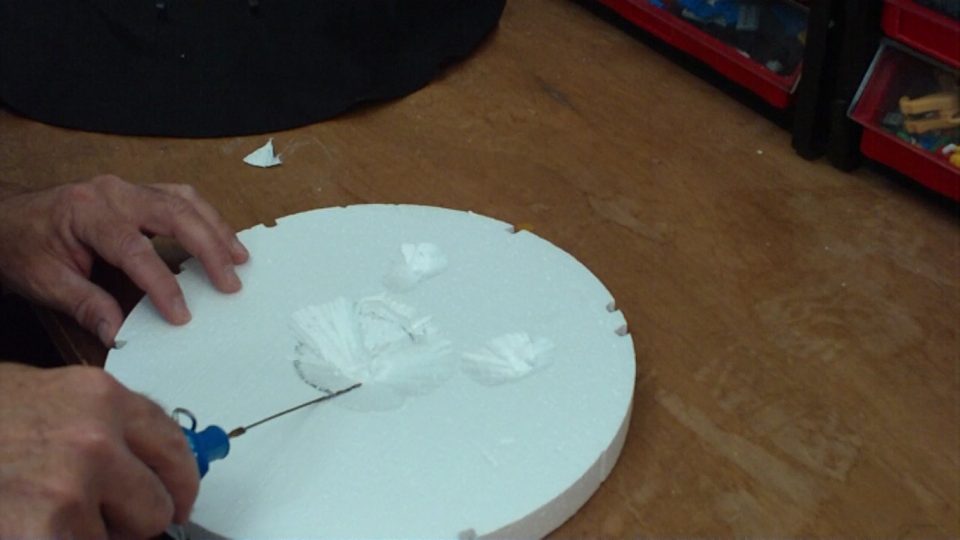
- Cut notches for the 7 floodlights. Use heavy card stock with notches as a guide. Use the styro cutting tool to melt away notches in the disks.
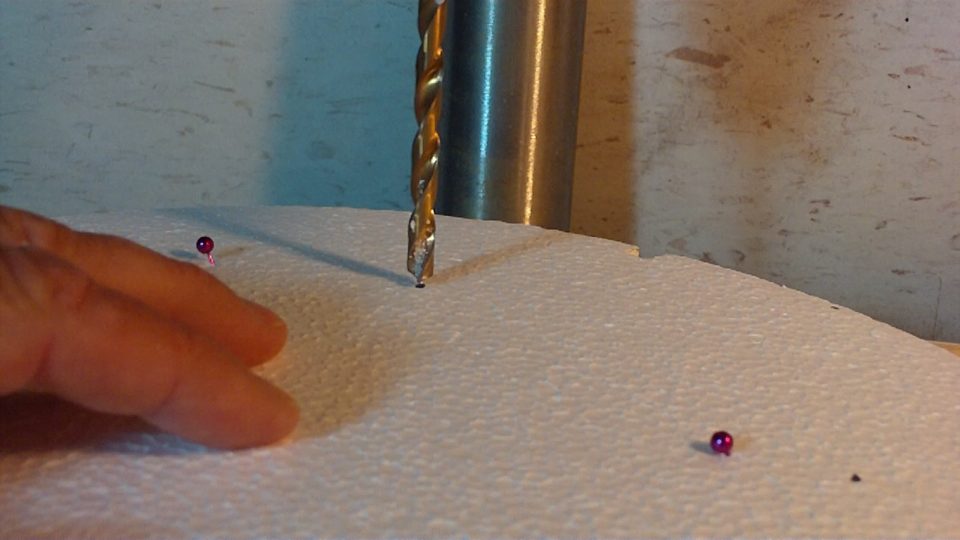
- The two lamp posts should be placed between the back of your model and the back of the disk, separated by about 4 1/2 inches. Mark these points and drill two perfectly vertical 1/4-inch holes at the marks.
- Melt or cut holes in the black cloth where floodlights and lamp posts will poke through. Mount all posts using wood glue or a low temp glue gun. Floodlights should stand 5/8 inch above the cloth. Lamp posts should be parallel, not pointing away from each other.
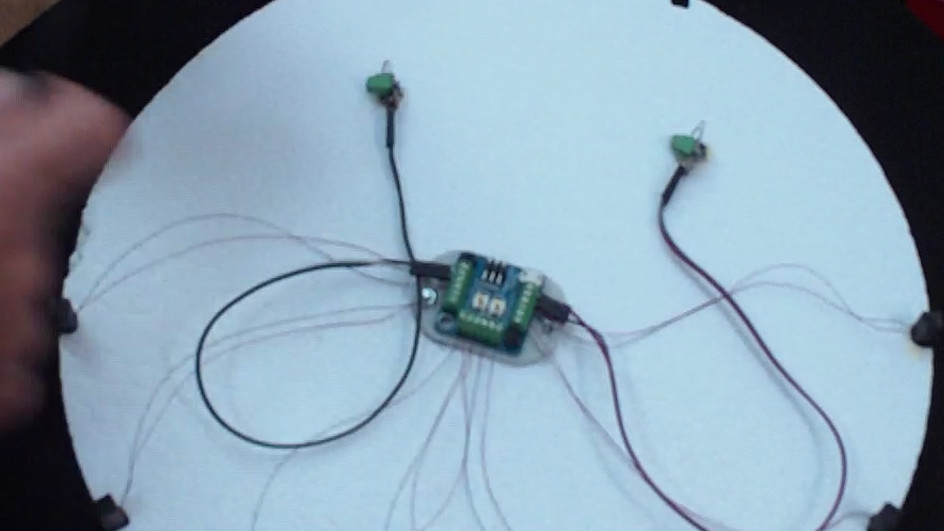
- Attach the LED wires of the lamp posts to the Couplers. Using a low temp glue gun, glue the two Couplers to the base of each lamp post. Bolt the Morsel to the Styrofoam disk using the large fender washers on the top side and long screws to the Morsel on the bottom side. Using the 1.6mm screwdriver supplied with the Morsel, attach the LED wires to the Morsel in the clockwise pattern shown with the two lamp posts connected to ports A and I via the extension wires.
- Using the Styro cutting tool, carve out cavities of the second 12 inch disk to make space for components and wires. Burn a small trench from the center to the edge for the USB cable and the Chaining Cable.
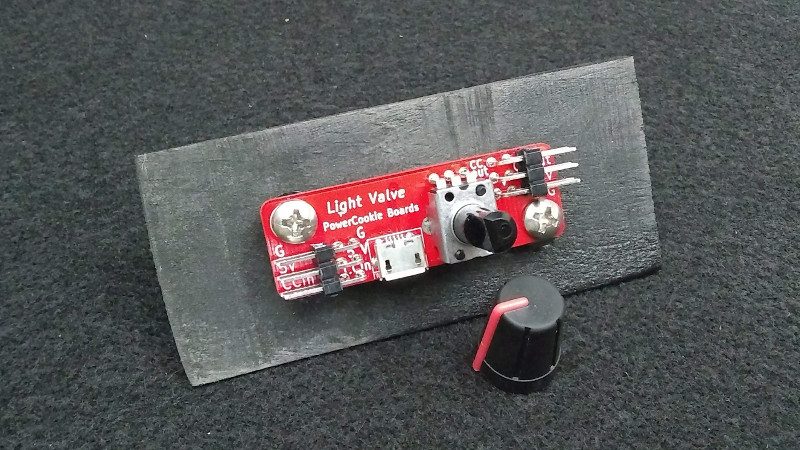
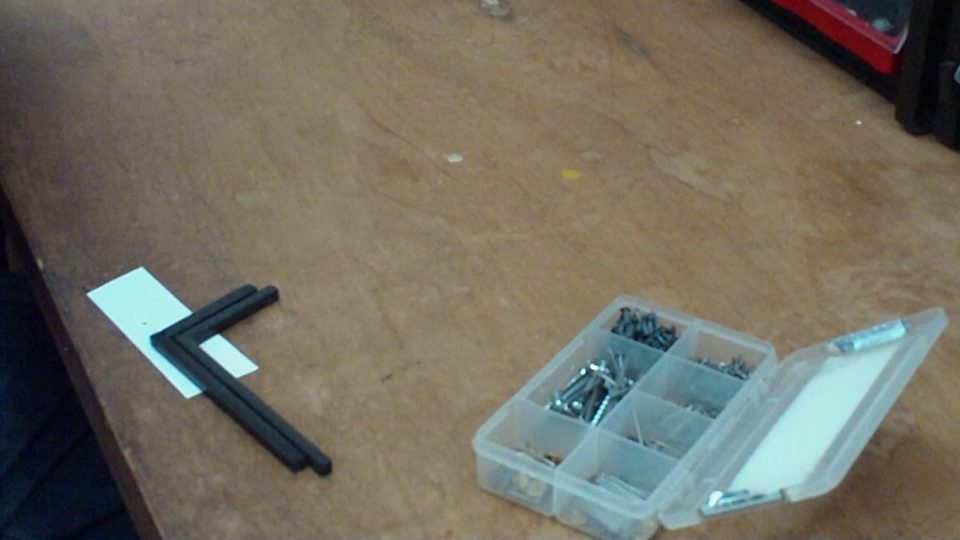
- Using included hardware, mount the Light Valve to the diagonally cut wood block.
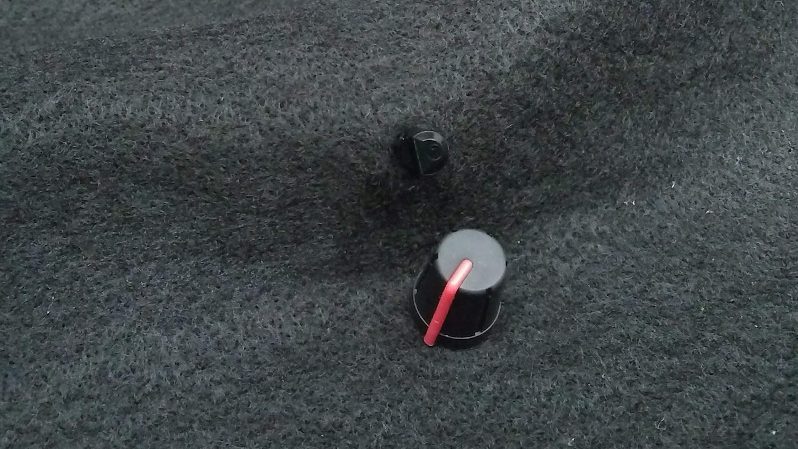
- Cut a piece of cloth to cover the Light Valve. Make a 1/4 inch hole for the knob.
What we learned
Tip #1: The LED wires are so thin, they are barely noticeable. We decided that making razor cuts to hide them in grooves could be optional.
Tip #2: The taller a post is, the more noticeable any slant will be. If you won’t be using a drill press, great care must be taken to make sure the lamp posts are vertical.
Tip #3: Note that Micro Wire LED’s are delicate, so having spares on hand is a good idea. While we haven’t broken any ourselves yet, it would be frustrating to wait for replacement parts.
Substituting a toggle switch
A toggle switch or slide switch, available from electrical suppliers, can be used in place of the Light Valve. It effectively chooses fully clockwise or fully counterclockwise. One position selects the Highway Night Driving effect. The other is the Red Carpet Event (flash photography effect). The steerable spotlight would not be accessible.
The CC pin naturally pulls low. Therefore, the switch should connect to CC and 5V pins. The G pin is not used.
Using the download
The zip file contains one theme and one sequence which can be exported to the Morsel using the free Theme Designer and Sequence Composer apps.
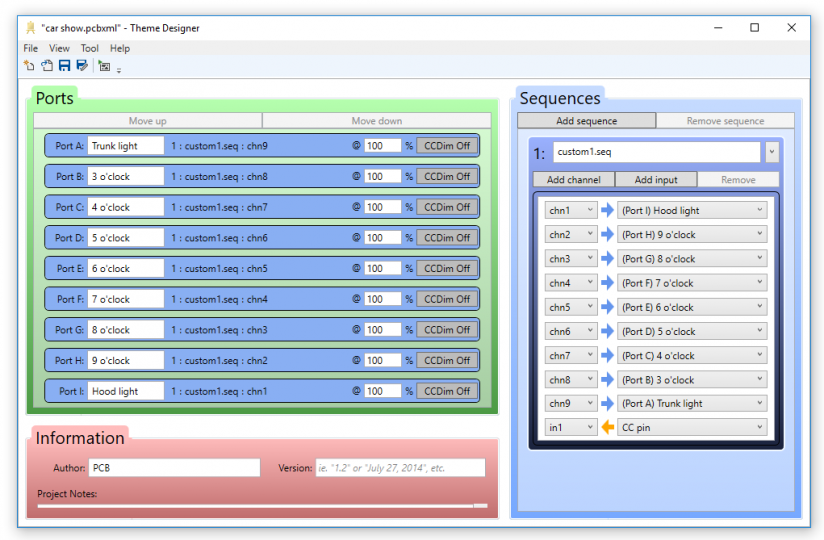
The theme is extremely simple, as shown in the picture below. It connects nine channels of the sequence to nine LED ports of the Morsel. It also connects the CC pin to the In1 input of the sequence to allow Light Valve control. The sequence should be exported as custom1.seq to match the name in the theme.
Theme Designer screenshot:
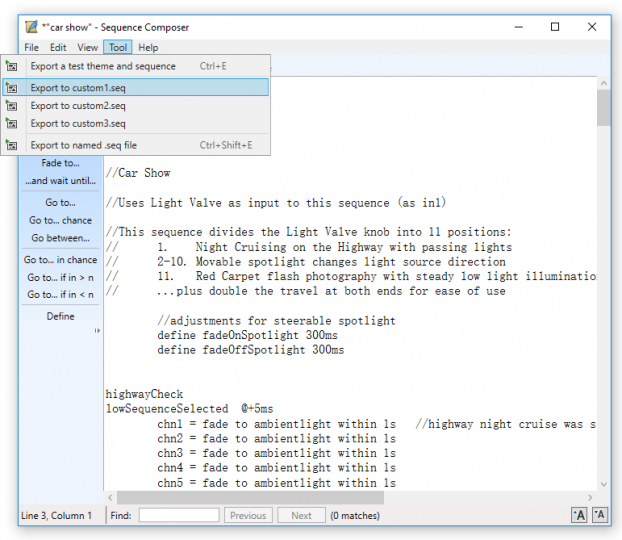
 Sequence Composer screenshot showing “Tool -> Export to custom1.seq”. This ensures the Morsel is sent the sequence and it has the desired name custom1.seq:
Credit: 1957 Chevy Corvette by Jada. Car measures 8″ by 3.5″ by 2.25″